Tuesday, August 30, 2011

Chicken Parmesan

I've decided to start incorporating new recipes into our weekly menus.  We eat the same things pretty often, which works, but then you get tired of certain meals.  I like to make something new, plus, it would make supper less boring sometimes!  :)

Last week:  Chicken Parmesan


Before I get to the recipe, I've seen other bloggers post things about "keeping it real", by showing others the mistakes they have made on projects, etc.  Well, allow me to show you my latest mistake.  I have entitled it, "When Homemade Rolls Go Wrong..."

Notice I didn't add our blog address to this picture!!  ;)
Haha!!  I made a batch of homemade rolls last week, and they were really good, but the dough was super sticky.  I baked a few that night (they were delicious!) and then decided to freeze the rest.  I didn't know if that would work or not, but I love being able to take out just a few rolls for supper without having to cook the whole batch!  Well, I cooked some last night, and once they thawed out, they just became one giant mess.  Then, I asked my husband to pull the plastic wrap off of them, and that made them even worse!  Memo to me:  Add more flour next time!  ;)  They still tasted good, but it was too funny!

On to the point of this post...

I LOVE Chicken Parmesan.  I love chicken, and I love italian food.  What's not to love about this dish?  (I guess I should ask my hubby--he said it was good, but he isn't a CP fan.)

I will warn you, that sometimes I am "that person" who cooks without measuring things.  I followed a recipe for some guidance, but didn't follow it exactly.  My child(ren) will probably hate me one day for it when they're using my recipes and trying to figure out how much "a little bit" really means.  ;)

You will need:

  • Boneless Chicken Breasts
  • Salt and Pepper
  • Italian Seasoning
  • 1 Egg
  • Milk
  • Regular (or Italian) Bread Crumbs
  • Panko Bread Crumbs
  • Parmesan Cheese (I just used it out of a can)
  • Spaghetti/Marinara Sauce
  • Butter

I started with four skinless chicken breasts.  I tenderized and seasoned them with salt and pepper.


Next, I made a breading mixture that included regular bread crumbs, Panko Bread crumbs*, Parmesan Cheese, and some Italian Seasoning, which I probably wouldn't have done if I had Italian Breadcrumbs instead of regular.  I would suggest starting with around 1/2 cup of each of the bread crumbs, 1/4 cup of parmesan, with maybe a couple of teaspoons worth of seasoning.  You might want to just start there and use your own judgment!  Of course, it all varies depending on how much chicken you're preparing too.  ;)

*(If you don't know what Panko Bread crumbs are, then you should.  ;)  I started using them a couple of years ago on fried chicken mainly, and it makes it SO crispy and yummy!  Try it out next time.)  ;)


Before I started breading the chicken, I put a couple of tablespoons or so of butter in a pan and turned the burner to medium heat.  Of course, I had to watch it to make sure the butter didn't burn!  Next time I might try Olive Oil.

I dipped each piece of chicken in the breading mixture, then, I dipped each piece in a mixture of a beaten egg with a little milk.  (This is what I'm talking about--how do you know how much 'a little milk' actually is??  Probably 1/8-1/4 of a cup, don't worry, I don't think it really matters!)

Then, I dipped each piece into the breading and placed them in the pan.  I browned each side.


Next, I added some good ol' Ragu spaghetti sauce.  I believe it was the "Parmesan and Romano", but go with whatever your heart desires.  :)

Again, I didn't measure out the sauce, but I like a lot of sauce, so I poured it all over the chicken and in the pan until I was satisfied with the amount.


And now, a moment of complete honesty, at the risk of sounding like an idiot.  (It's good to remain humble.)  I have no clue how long I let it cook with the sauce covering it.  (This is what happens when I'm multitasking by cooking multiple things at one time, trying to avoid stepping on the tupperware M has scattered around the floor, and also occasionally having to chase her when she tries to make an escape from the kitchen.)  I tend to be on the more cautious side when cooking chicken, because I'm always paranoid about it not being completely done.  I would guess a time for you, but I don't want to give you the wrong number, so when it doubt, cut one of them open and look!  Next time I make it, I'll try to time it.  Until then, I'm afraid you'll have to once again use your own judgment.  ;)  Sorry!

After *ahem* a certain amount of time passed... I added some mozzarella cheese to each piece of chicken.  I covered the pan and let the cheese melt.  I don't have a lid for my pan, so I just put some foil paper (or aluminum foil.. my husband makes fun of me for saying foil paper..) over the top to trap in the heat.  ;)


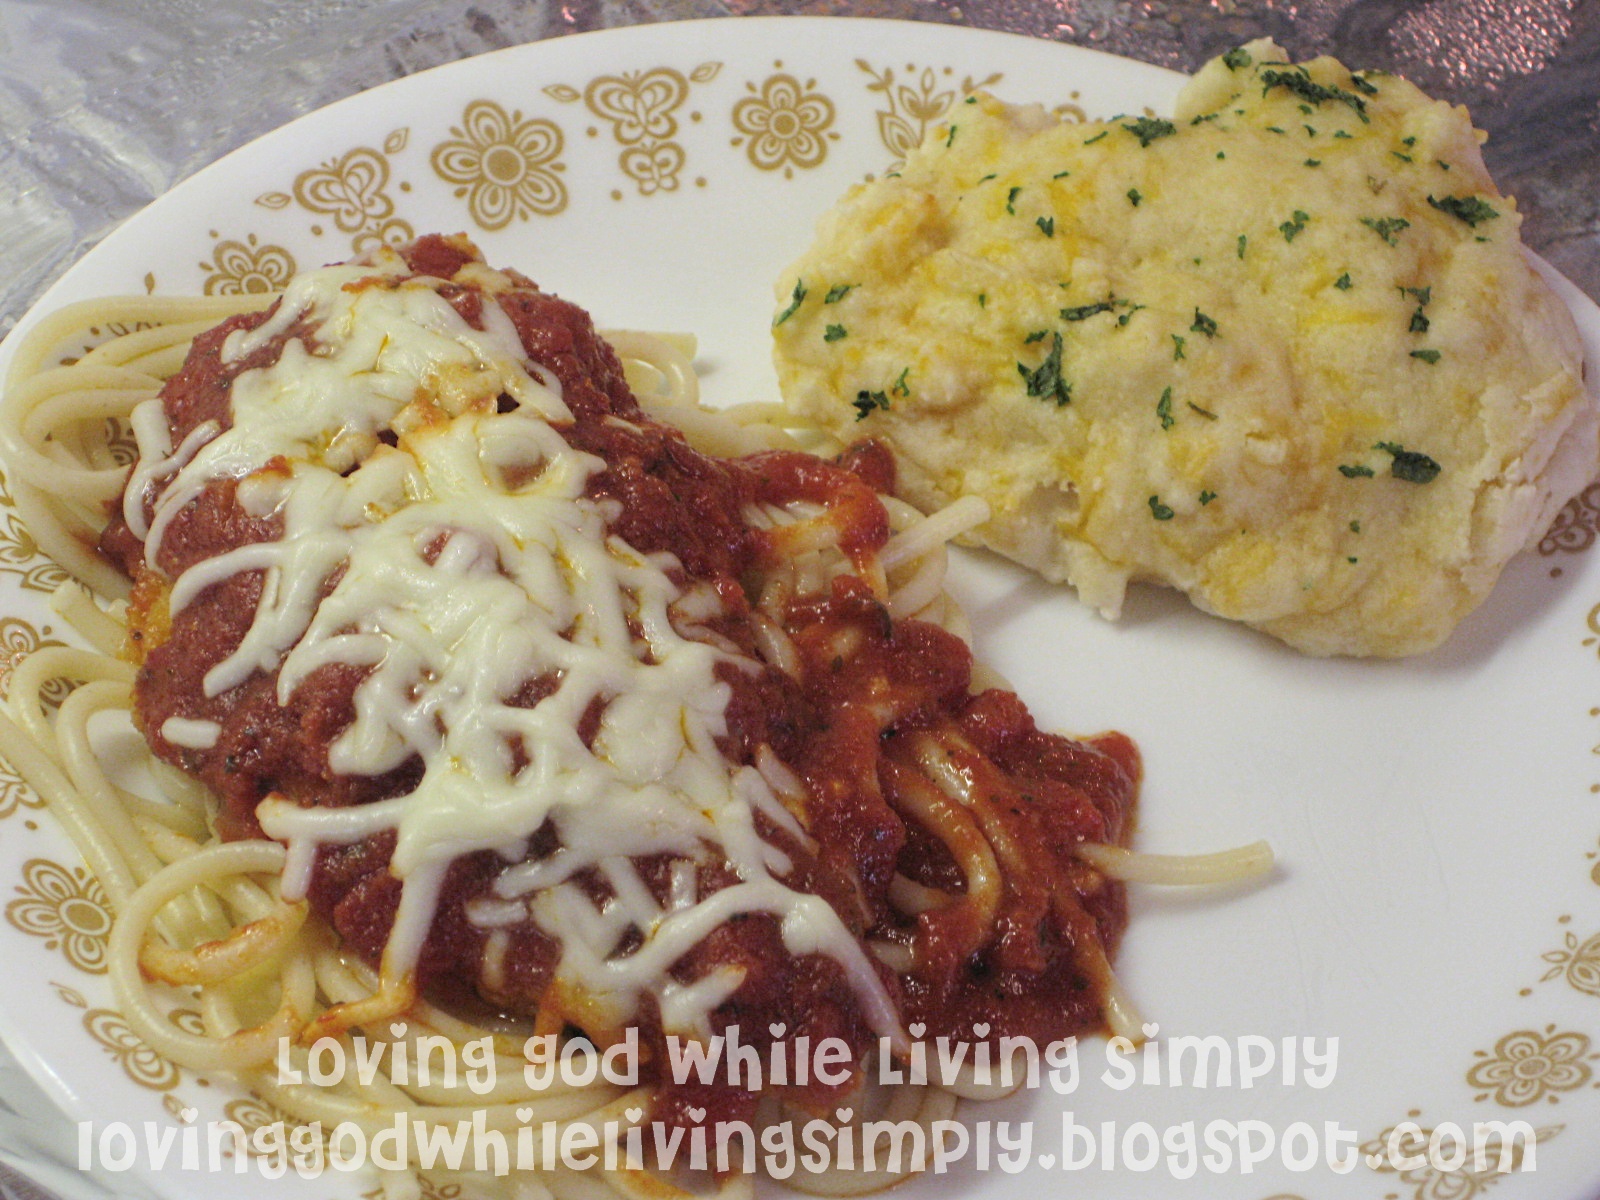
Once I did my 'cut open the chicken test', I turned off the heat, and placed a piece of chicken on a bed of spaghetti noodles.  Yum.  This is where the extra sauce in the pan comes in handy, because I just scooped out extra to add to my noodles.  :)  Get your lycopene, people!  ;)


If you're wondering about that yummy biscuit, it's like the Red Lobster Cheddar Biscuits.  They are FABULOUS.  I have an actual written down recipe for that, but I think this post is long enough for now.  If you're interested, let me know and I'll post it.

Hope y'all enjoy, and are able to understand enough of these directions to be able to improvise when needed.  ;)  If you have any questions, I will do my best to answer them!  Have a fabulous week!

Check out the links tab to see where I party!  :)

Monday, August 22, 2011

Our Fabulous Remodeled Bathroom :)

Well, it has taken about a year, but our bathroom is finally COMPLETELY remodeled, thanks to my oh-so-handy, precious husband.  :)  (I'm so proud of him, in case you haven't figured it out..)

I've mentioned before that our house needs a little love to get to where we would like for it to be, since half of it was built in the '40s.  The first room that needed to be tackled was the old bathroom.  It looked terrible.  The floor, the tub, the paint, the ceiling, you name it.  (It looked worse in person!)


Well, the vanity was nice.  ;)
Thankfully, the Lord provided my husband with a job in home remodeling while I was in graduate school.  He kept getting turned down for jobs that he should've really been able to get, and all the while, the Lord was saving this particular job for him.  If he hadn't had that job at the time, he wouldn't have been able to do all this work on our house.  I think it's amazing when the Lord does something in our lives, and we don't understand what He was doing until later on.  The Lord truly does work in amazing ways!  :)

Anyway, back the bathroom... I was not happy with it.  In fact, after seeing how disgusting the bathtub was, I refused to bathe or shower in it.  These stains can't be wiped away!


Of course, we have another shower, so that wasn't a problem.  We DID need a tub though, since we have a little one.  ;)

We ended up finding a bathtub exactly like I wanted on clearance (yay!!) at Home Depot.  The Lord is good!

Let the demolition begin...


My hubby began by pulling down the tile walls around the tub.  I'm not a fan of tile walls.  I think they look dirty, and are too hard to keep clean.  So, down they came!

He even found an old window behind the wall!  :)


He ended up pulling down all of the walls and the ceiling as well, because it was ceiling tile, which I also don't like.  I know I sound super picky.  I'm really not.  I could've lived with the tile walls and ceiling for a while, but since we were already remodeling the rest of the bathroom, this was the time to take it all down!

He moved in my beautiful bathtub, and once that was in, I was fine with the rest of the bathroom being ugly for the time being.  I was in love with my new tub.  Nothing fancy, but pretty, clean, and EASY to keep it that way!  *thumbs up*

Then, he put up new walls and did sheetrock for the ceiling as well.  It actually stayed this way for a while, and the project was on hold.  I was okay with that though.  It's funny how you get used to your surroundings, even if they don't look very good!  ;)


He applied texture to the ceiling and walls, and then painted the walls light blue.  I wanted a 'happy' bathroom.

Next came the floor.  My parents had some leftover tile from another bathroom that was remodeled in my grandparents' old house, so they gave that to us.  Score.  Once again, my fabulous hubby got to work putting down the tile.  He also added some new trim.

We put in a different toilet, because the other one broke early on.  We also bought a cheap toilet seat and some hanging accessories.  Gotta love Walmart!  :)

Ready for the fabulous 'after' shots?


I am in love!


Bye-Bye ceiling tile!


Bye-bye ugly faded yellow linoleum that no matter how many times I mopped it would never be clean!


Bye-bye scary disgusting tub!


Hello happy beautiful bathroom!  :)


We've been busy working on other projects as well, but those aren't ready to be unveiled yet.  ;)  Stay tuned, and have a happy Monday!

Check the links tab to see where I party! :)


Wednesday, August 17, 2011

Homemade (and Cheap!) Yogurt

My little boy, T, loves loves loves yogurt.  Not the kind that has all the sugar and flavorings, although he probably would love it if we gave it to him.  But, we just give him plain, tart, high-fat yogurt, and he LOVES it.  But, the problem is...it's expensive!  When you are trying to be on a grocery budget, like we are, $2.10-$3.00 for a carton of yogurt (and that's the "cheap" store brand) takes a large portion of your budget, especially how fast we got through it!  So, we decided to try to make our own yogurt.  Actually, my husband decided to.  I thought it would be too hard and the savings wouldn't be worth the effort.  Boy, was I wrong!  It saves a ton of money AND is incredibly easy!  There won't be any pictures on this...because they would be boring pictures since every picture would be a crockpot.

Quick breakdown of the savings:
One 32-oz carton of yogurt (cheap brand) is $2.10-$3.00 (and remember, the other brands will be even more expensive)
Four cartons of homemade yogurt = cost of one gallon of milk (depending on what kind of milk you get -- for us, the $3.15 gallon at this time)


There are a lot of blogs out there that say use "full-fat" milk only to make the yogurt, but we have even used skim and it works great. 

The first time you make this, you will need one cup of regular yogurt as a starter.  After you have already made some, you can always reserve a cup for making more.


Ingredients:
1 gallon milk (or 1/2 gallon)
1 cup yogurt, homemade or store-bought (or 1/2 cup)

Pour the milk in the crockpot.  Cover and cook on low for 2 1/2 - 3 hours.

Without opening the lid (there will be no reason to look inside -- it just looks like hot milk), turn off crockpot and leave sitting for 3 more hours.

Take off lid, mix in 1 cup of yogurt, put lid back on, cover/wrap in a towel (to be honest, not sure why, but we do it), and leave sitting for 8 hours.

Yogurt is ready!  I like mine with a little cinnamon and maple syrup.  Delish!

If you like the thicker yogurt, like greek yogurt, place a coffee filter or cheesecloth in a colander, put the yogurt in the colander, and until the whey (clear yellow liquid) drains out.

You can even freeze the yogurt if you made too much.  You can also add fruit to the yogurt to make flavored yogurt.

I think this yogurt tastes better than store-bought yogurt...and so little effort!  Enjoy! 

Wednesday, August 10, 2011

Stick Around...

It's been busy around here!  I'm constantly picking up after little M, aka the 'tiny tornado', who picks up a few items, carries them a few steps, then drops them there once she finds something else to carry to another room.  ;)  Sometimes I get frustrated that I can't keep the house neat, but then again, there's just something super cute about finding a lone tiny baby shoe sitting in a random place.  I love her.  :)

Anyway, we've been doing a lot of work around the house, and I'm anxious to show y'all before/after shots!  I'll try to work on that.  Also, I have a fabulous Chicken Parmesan recipe to share.  I mean, YUM.  ;)  

So, stick around!  ;)

Hope y'all have a happy Wednesday!!  :)